
BRIEF
Fleetmatics returned to ask us to create several videos aimed at people who would benefit from having a vehicle tracking system introduced into their workforce. Our brief was to create a video which could sit at the top of their sales funnel, showing the benefit of the telematics system in a fun and relatable way. The main target audience for this brief is prospective customers who own a fleet of vehicles, but who might not have heard of Fleetmatics.
STORY
Delving further into the project we decided to create two videos by focusing on two key strengths of the Fleetmatics system: fuel card abuse and safety. After a few brainstorming sessions and following feedback from our client, we decided the best technique would be a simplified 3D animated (low poly) video. Our main ideas were based on anthropomorphised vehicles and their driving habits, so from there we started to outline a story, including a rough representational sketch for each video.
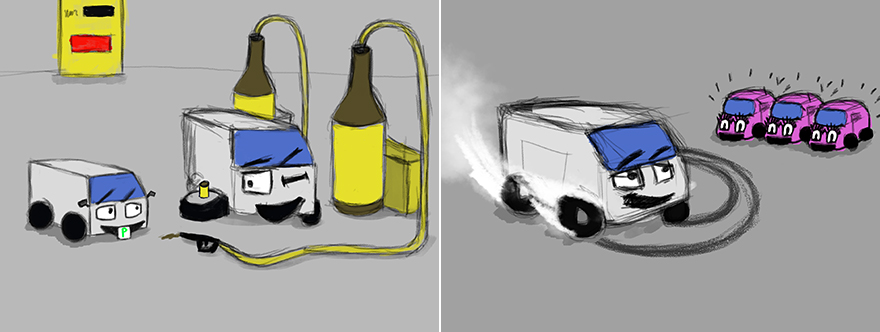
Fuel Card Abuse & Safety concepts
Video 1 – FUEL CARD ABUSE
The van is filling up at the petrol station and offering free fuel to his kids. The van pays for these on his company fuel card and drives away without any other vehicles suspecting his actions.
Video 2 – SAFETY
The van heads out for his next delivery after being loaded with some fragile cargo. On his exit from the loading bay, the van sees a group of female cars. In an attempt to show off he pulls off some tricks such as wheelies, donuts and driving on two wheels. The van eventually crashes and damages his cargo.
INSPIRATION
We started scoping out the project in more details, looking at other existing 3D animations that would to narrow down the style for Fleetmatics, as well as finding other imagery for inspiration.
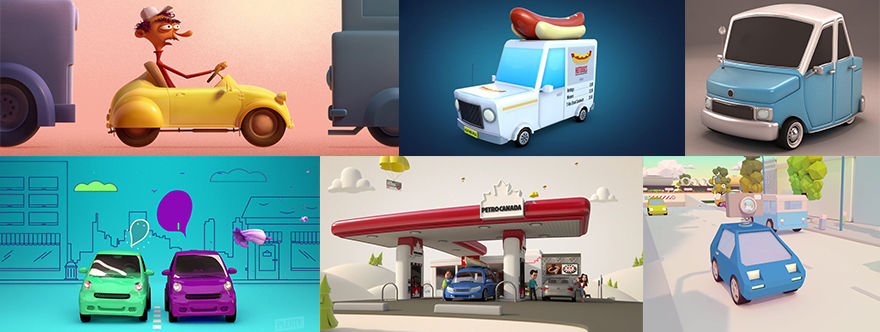
Initial inspiration
From here we began visualising the storyboards to accompany each of the scripts. These took the form of rough sketches but enabled the client to visualise the setting for each part of the story.
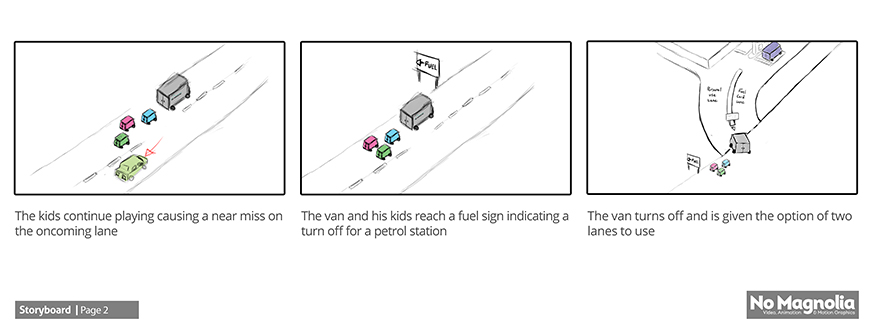
Rough storyboards
ASSET CREATION
We then started designing and creating the main vehicles and locations. For this process, we initially considered the design of the vehicles. The main van is the focus of both videos and leads us through both narratives using emotions and expressions without any dialogue, so therefore we had to consider what aspects of the vehicle could be used to accommodate an expressive design with facial features we could relate to. The child van was initially intended to be a smaller/cuter version of the main van, but with more design iterations, we felt the child car would stand out on its own rather than using a smaller duplicate. We started the concept process by creating rough sketches in Photoshop until we were happy with the final designs. Using the designs as reference we created the 3D models in Autodesk Maya.
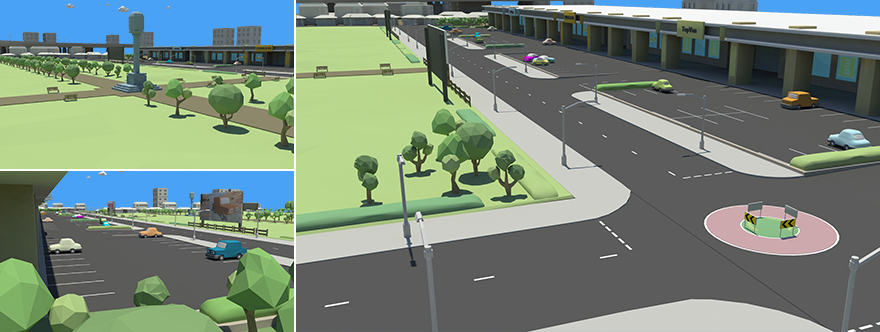
Environment creation
RIGGING
After designing the characters we set up all of the rigs for the main vehicles ready for them to be animated. This posed a few questions for us that required answers. Which emotions would we need to consider? Would the vehicles need to move realistically or behave with a more cartoonistic style? Which aspects of the vehicle need rigging to help with any expressions? To help answer these questions, we created a list of items that needed to be rigged and how they should behave. Our initial efforts went into creating the main van’s rig and making sure that it worked for everything we planned in the storyboard.
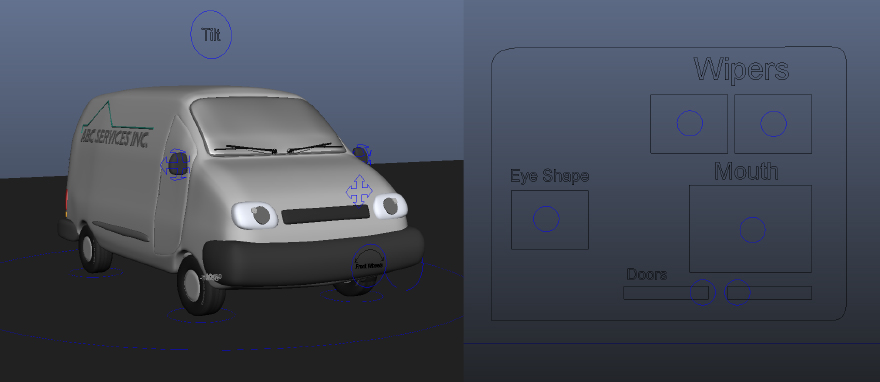
Rigging the main van in Maya
ANIMATION
Alongside rigging our characters, we started pre-visualisation. We setup cameras and used cubes as placeholders. We would eventually swap these cubes out for the fully detailed characters. One interesting aspect of the pre-vis stage is that when you take your project from a 2D flat design process (including scripts, storyboards and drawn designs) into a 3D program, this process always brings up more questions that you may not have initially considered. For example, we decided at the end of the Fuel Card video that a nice camera rise from the street into the sky revealing the Fleetmatics logo would be a nice transition. However, at this point our set wasn’t big enough to achieve this, because we had only built what we thought would be seen on screen. So for our new idea to work, it required us to extend the set. This included extending the road and increasing the amount of traffic which required more animation time, more cars and background assets including buildings, clouds, street lamps, fencing and pavements etc.
After pre-vis, it was time to piece everything together and start animating. Before dipping our toes into the animation, we brought in freelance animator Alex Stanlake, who worked in-house with us collaboratively over a few weeks to enable us to work through all of the animation that was required. The animation process lasted 2-3 weeks and we rendered shots as we progressed to monitor how the overall project was progressing. From there we compiled and edited our video in Adobe After Effects, making sure that the story was as strong as possible.
Audio
All along we knew there was going to be an absence of dialogue throughout the two videos, making the audio even more crucial to both videos to help convey the story. Therefore we felt like it needed a completely original audio mix so we hired composer and sound designer Chris Mitchell at Music Box Productions to provide music and sound effects for both of our videos.
Final Videos
With the audio mix added to the finished edits, our final videos went on to feature on the Fleetmatics social media pages, gathering some 20,000 plays within two weeks.