
Side projects are a great way to challenge yourself and to test out new ideas and techniques. Recently, we tested our compositing ability by animating a photo being added into a photo book from a smartphone app. This would test various techniques in one short, detailed clip with inspiration taken from the 2011 O2 Priority adverts.
We carried out some tests to establish the best style and approach for the project, initially using real props to test out camera moves and techniques for adding the photo onto the phone’s screen. These tests showed that a Point of View, hand-held filming style would provide a good viewpoint for the viewer to experience the video from the character’s perspective.
Following these tests we decided to use a green screen background so that the background scene and the photo book could be created in CG for added control and flexibility. This would be more time-consuming overall but would allow us to customize all of the elements whilst providing extra options for the photo book’s animation.
A table was covered in green screen cloth and tracking markers to provide a reference for where the book would appear, this was especially useful to give us extra detail for the tracking process to allow the camera’s movements to be recreated.
The scene was lit with a diffused three-point lighting setup to create soft overall lighting, helping to avoid harsh shadows that would have proven problematic when keying out the green background.
The footage was filmed using a Canon 5D III with a fast shutter speed to reduce the amount of motion blur when the hand swipes through the photos on the phone.

Initial tests gave us a better idea of the ideal set-up and camera move
We intended to replace the phone’s screen with a sample of photos and a fake UI. The problem we faced was how to replace the screen whilst still being able to interact with the phone. Initially, we considered pre-loading a selection of photos onto the phone but this wouldn’t allow us to animate the final photo so that it came off the screen and floated down towards the photo book. We also tried using a blank green photo but the photo moved when the screen was pressed and the phone’s UI kept appearing. We solved this by using an app called Track Points which displayed a blue screen with tracking markers on the phone, whilst still allowing us to fully interact with the screen. The app was useful but it did result in extra unforeseen work as the tracking markers on the phone’s screen had to be removed manually when the finger passes over the screen.
Tracking
Motion tracking was a crucial part of the project and allowed the camera move to be recreated in order to combine the footage and graphics together seamlessly. Firstly the camera was stabilized to smooth out the motion before being tracked with the 3D Camera Tracker within After Effects. Then, several null objects were created to show where the book should be placed and then these were exported with the camera move using the AE3D Export plug-in.
The phone’s screen also had to be tracked to allow for graphics to be inserted in the correct place. This was initially carried out in After Effects using the perspective corner pin tool but this proved slow and troublesome when the edges of the screen were covered and when the phone exited the screen. Therefore we tracked the screen using Mocha as it analyses surfaces instead of individual points and is able to successfully track objects even as they move out of frame. From Mocha we could export positional data for the phone’s screen so that a fake UI could be created to show a selection of photos.
Modelling
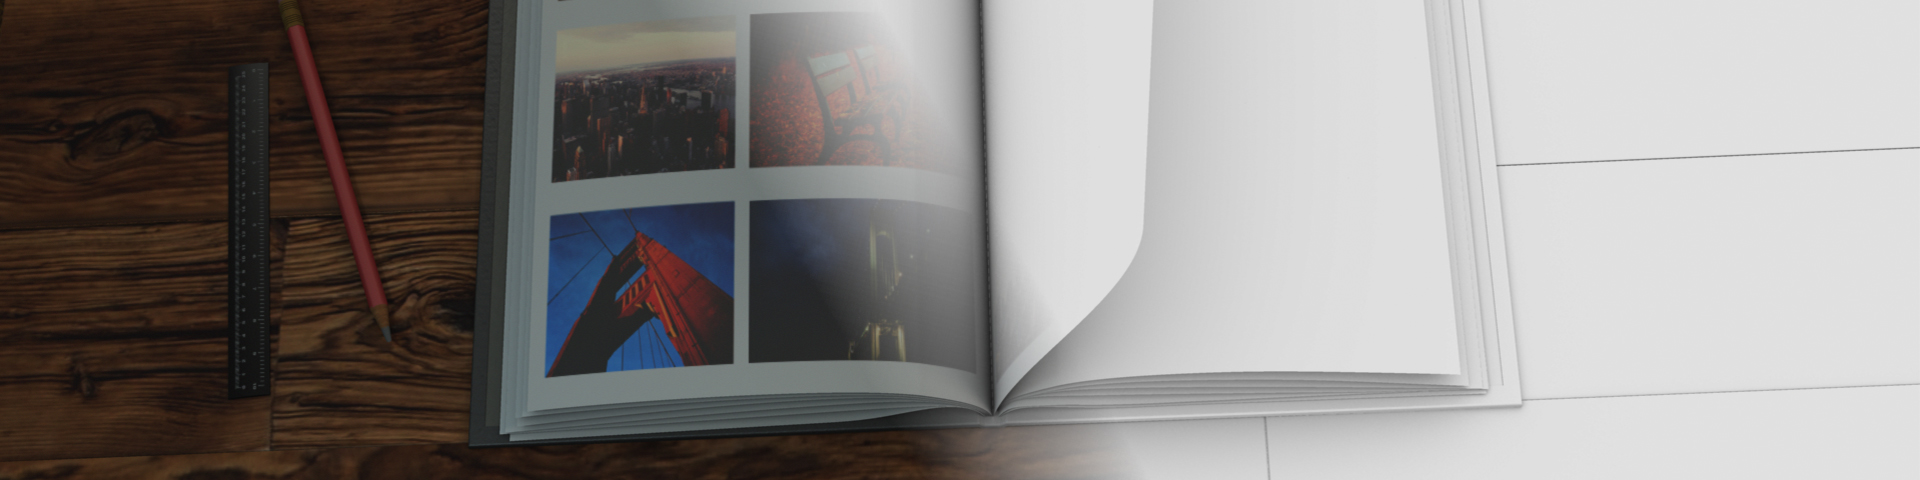
The CG photo book was created in Maya using a mix of techniques; the main table and base of the book were created using polygon primitives whereas the centre pages were created using NURBS surfaces to allow the pages to be turned with a lot of control. The centre pages were then filled with sample holiday photos to sit alongside the photos shown on the phone.
Modelling and texturing can be approached from different angles but the key is to use a variety of reference photos to provide approximate dimensions and textures.
The scene was lit with diffused area lights to replicate the original footage, matching the colours and shadows of each light to allow the CG elements and the footage to match more closely.
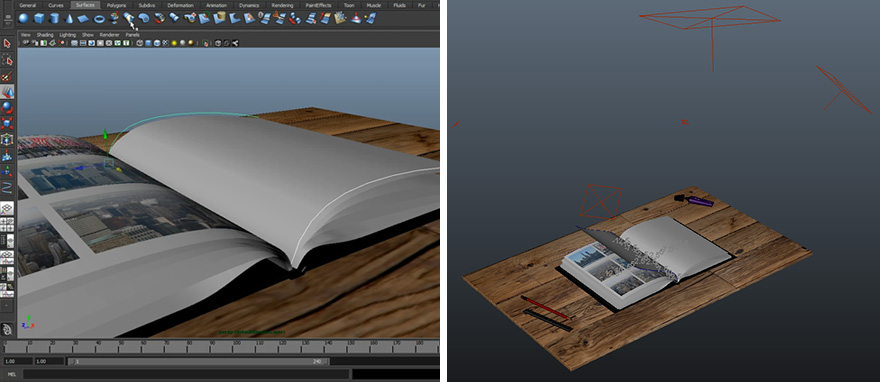
Screenshots from the setup in Maya
Animation
The photo was lined up with the phone from the original footage and then animated to flow down to the photo book using a motion path to guide it into place. This could then be tweaked using deformers to make the photo bend and curl as it floats towards the page.

Animating and compositing the photo within Maya and After Effects
In After Effects, the phone screen was created within a precomposition which could then be ‘pinned’ into place using the Corner Pin tool, taking advantage of the tracking data from Mocha. Therefore each photo could easily be animated to be swiped across the screen once the fingers touched the screen. When the finally photo was then selected for the book, this could be animated off screen, allowing it to merge with the 3D animated photo from Maya.
The centre page of the photo book was made to turn using a NURBS surface and adjusting its profile curves, with an additional bounce being added in when it settles into place.
Post-Production
Using After Effects, the green background of the original footage was removed using Keylight before the CG graphics could be added in. Firstly the CG background was composited in and colour corrected to match the original footage. This was combined with an Ambient Occlusion pass to add subtle contact shadows before being blurred at the start to recreate the camera’s shallow depth of field.
Additionally the animation of the photo was given some additional motion blur using the ReelSmart Motion Blur plug-in to make it appear more realistic. This offered more options than the built-in motion blur effects and also gave a better level of control compared to a standard Directional Blur effect.
The final video can be viewed below:
Conclusion
The photo book animation was an interesting project that tested a lot of different techniques, both 2D & 3D, whilst challenging us to create something unique to a high standard. Overall the video turned out well and challenged us to problem solve several different aspects along the way. Next time we could expand on the video by adding in additional shots including a close-up of the book. Alternatively the video could be created in a completely different style, using stop-motion or 2D animation techniques to produce a very different look.
It’s always great to keep testing out new techniques. So if you see an advert, film or simply a style that you’d like to recreate, give it a go – you’ll be surprised by how much you learn along the way.
For a timelapse showing the video’s creation, see below: