After Effects Tools – #003
The animation tools we use within After Effects vary with every project. Below is a reflection on the tools we’ve harnessed recently to create cartoon arms, connected dots, handwritten text and much more.
Paint & Stick
Paint & Stick is a great animation tool and a fantastic addition to our arsenal. Built in-house by the team at aescripts.com, its innovative approach allows you to paint and record brush strokes directly within After Effects. It allows you to create sketchy hand-drawn animation, which can be easily integrated into a video.
It also features onion skinning. A handy way to compare each frame with the previous drawing whilst displaying the results in real time. It also allows you to alter the timing of the animation by adjusting individual keyframes afterwards. Recently, we’ve used it to create hand-written text within an animated explainer for Christian Aid. Previously this would’ve required a series of techniques, resulting in something a lot less fun and a lot more tricky to create.

An example of Paint & Stick whilst creating sketchy handwriting
The ‘Stick’ part of the tool allows you to paint directly onto CG elements, which then sticks the graphics to the 3D objects as the camera and object move within the scene. Both parts of the tool are super fast, allowing you to be super creative. Something we’re always on the lookout for.
Connect Layers
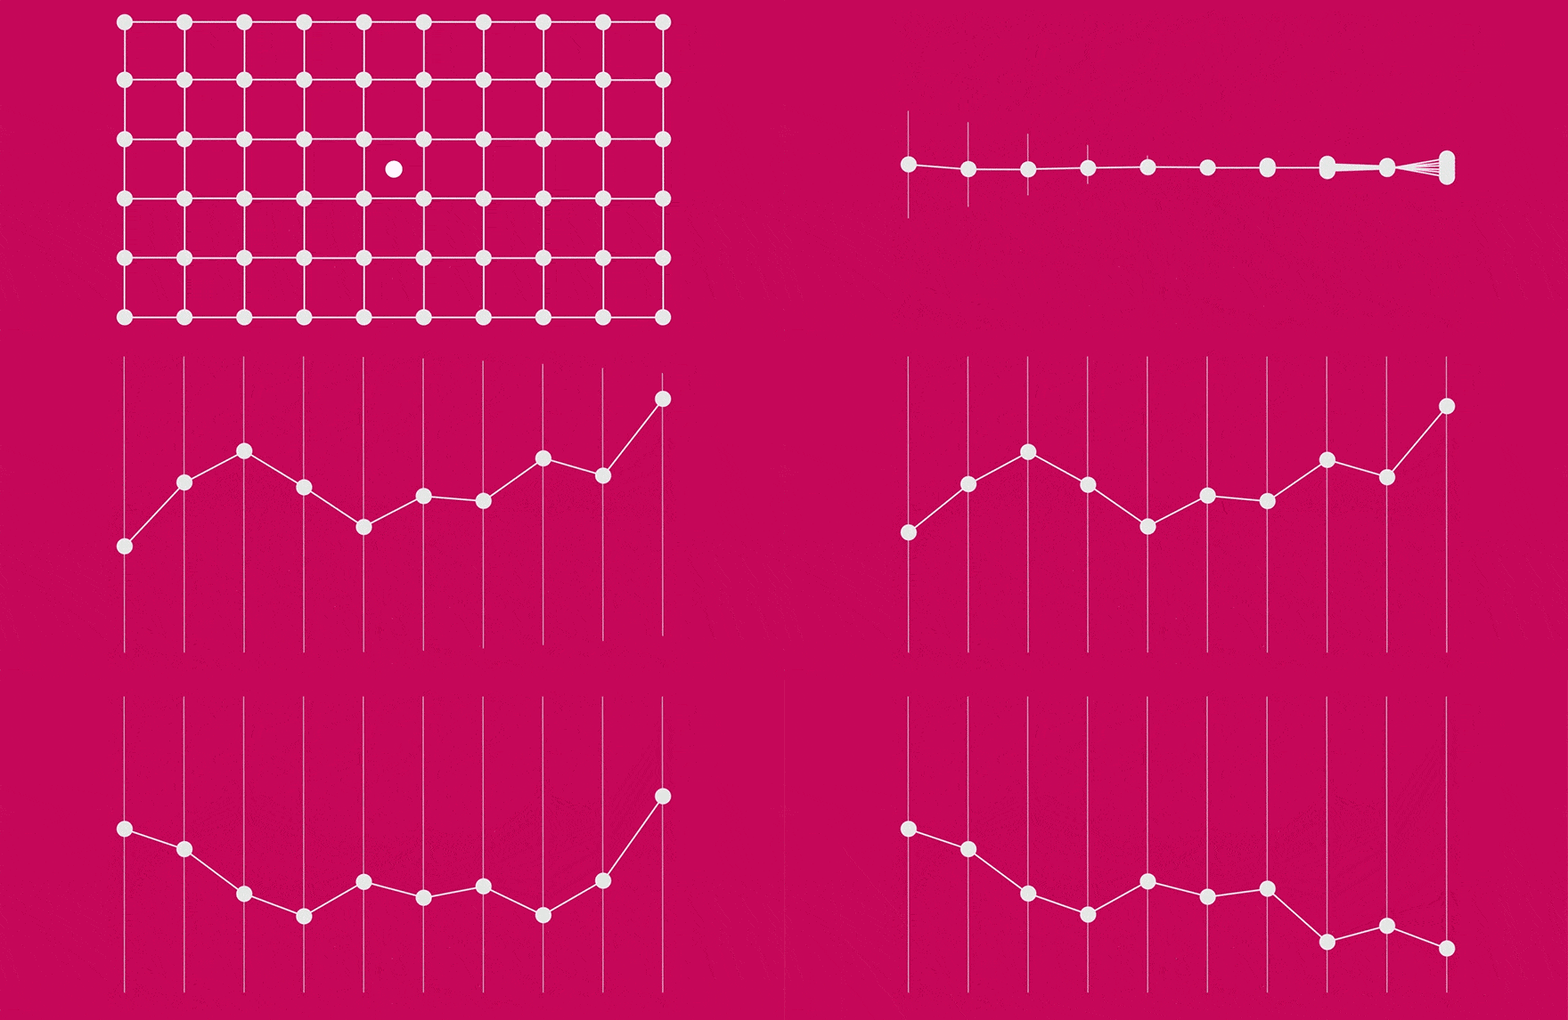
Connect Layers is a handy animation tool for building connections. It can help you to build a dynamic rope bridge, a triangulated height map of a landscape or a connected part of an animated infographic.
We’ve used the plug-in for many projects now, allowing us to create dynamic connections between layers that update in real time as each layer moves. It’s quick, looks great for motion graphics and even works in 3D.

An example of how layers can easily be connected by using Connect Layers
RubberHose
RubberHose is a fun animation tool that provides a twist on traditional rigging techniques within After Effects. It allows you to quickly create a shape layer that bends and reacts to the movement of two points. It can be used as an arm for a character, a tail for your favourite pet or even legs for an octopus.
Simply choose the type of connection you want and it creates two points which act as controllers. These could be the shoulder and wrist with an arm, which can then be refined by specifying their length, direction and radius. And, because it’s created using shape layers, it’s scalable and pin sharp. We’ve covered it on our blog before, but recently we’ve had the chance to use it for shots like this footballer, and cartoon arms for a fun explainer video for Propeller Studios.

RubberHose being used to create arms for an explainer video for EasyPQQ
The creators of RubberHose also make a handy plug-in that goes hand-in-hand with RubberHose called ButtCapper which can quickly change the type of cap on a shape layer, allowing it to project, appear flat or rounded: perfect for cartoony arms!
Creative Cloud Libraries
Although not a new feature, having been around since 2014, Creative Cloud Libraries has been continually upgraded to become increasingly more useful. Libraries are now integrated across the Adobe CC suite, designed for simple collaboration allowing instant access to cloud assets across multiple apps and devices.
It allows you to easily upload graphics and colour palettes, as well as stock imagery and custom brushes, which then become available to other members of your team. It’s a small, simple tool but we’ve found that it allows for a smarter, more consistent way of working.
Anything that promotes simple, smarter collaboration within After Effects deserves a hat tip from us.

